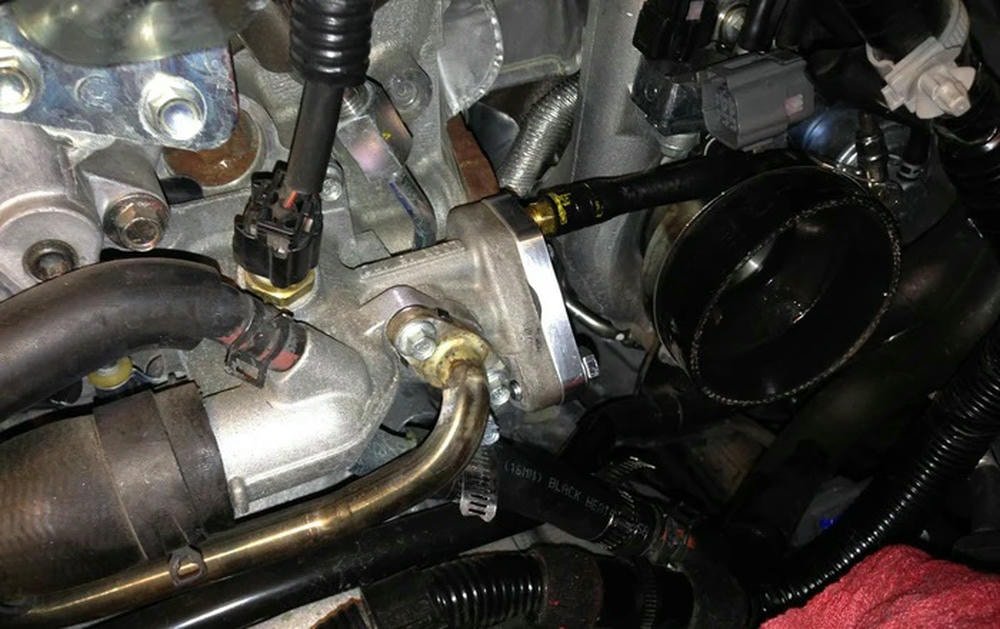
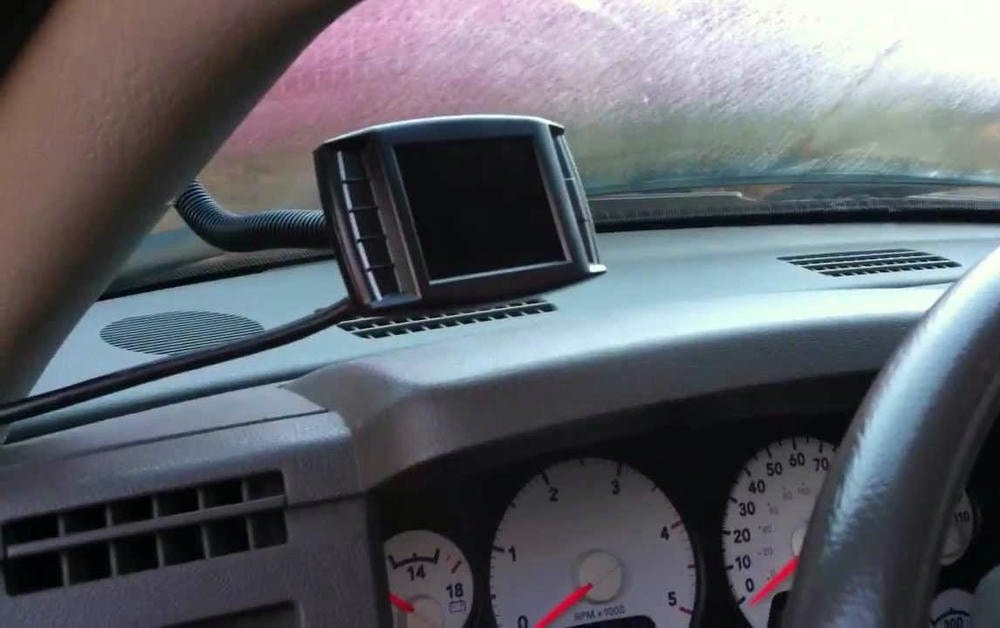
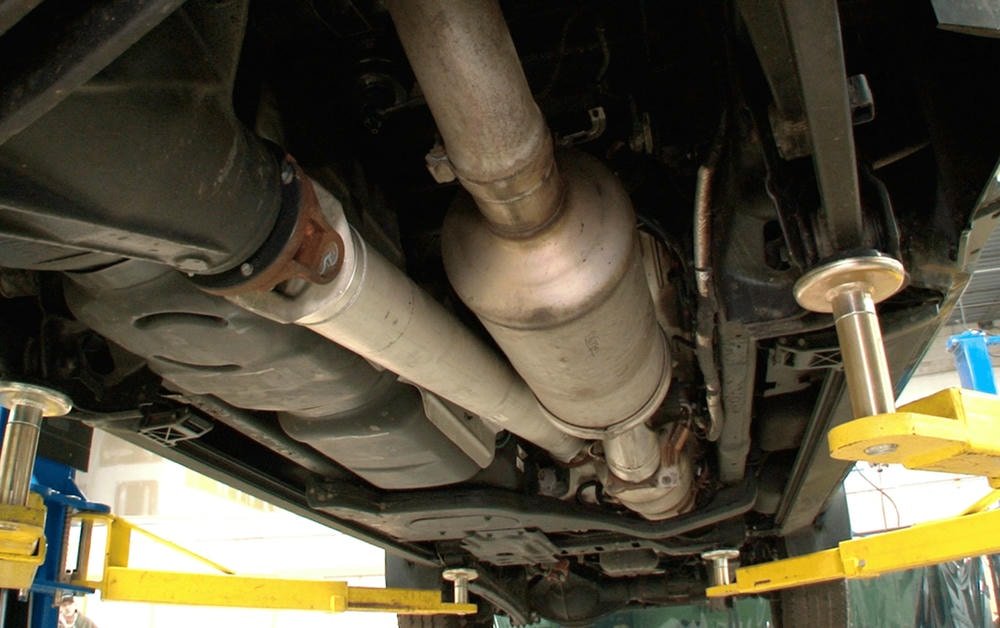
Installing pipes and boot kits in a diesel truck is essential for keeping the vehicle running smoothly. This process involves replacing old parts with new ones to avoid leaks or damage.
To do this, one must gather tools like socket sets, screwdrivers, pipe cutters, and safety gear such as gloves and glasses. It’s important to work safely by ensuring the engine is cool before starting any work.
Removing worn-out pipes and boots requires careful use of tools to prevent harm or further damage to the truck. After installing new pieces, checking for leaks around connections is crucial.
Starting the truck allows one to listen for unusual sounds that might indicate a problem. Finally, it’s vital to keep an eye on how the truck performs after making these changes.
This article walks through each step needed to install pipes and boot kits correctly. Let’s learn how.
Índice
TogglePreparation for Installation
Getting ready to install pipes and boot kits means gathering all the right tools and keeping safety in mind. One needs wrenches, screwdrivers, and protective gear before starting this job on a camión diesel.
Required Tools and Materials
Owners of diesel trucks who are preparing to install pipes and boot kits for performance enhancements need to gather the appropriate tools and materials. This comprehensive list will help confirm that they are thoroughly prepared before beginning.
- Socket set: This is valuable for loosening and securing bolts on turbocharged engines and parts of the sistema de escape.
- Screwdrivers: These tools are required for diverse operations, which include fastening screws on intercooler piping.
- Pliers: These are critical for grasping and adjusting parts during the process of removal or assembly.
- Torque wrench: This is instrumental in confirming that bolts are tightened according to the proper specifications, which is critical for improvements to diesel engines.
- Pipe cutter: This permits clean severances through custom piping arrangements if needed.
- Measuring tape: This is beneficial for obtaining exact measurements for pipe lengths and connectors.
- Flashlight: This illuminates confined or poorly lit areas beneath the vehicle.
- Gloves: These defend hands against sharp boundaries and heated surfaces.
- Safety glasses: These shield eyes from potential harm from debris or liquids.
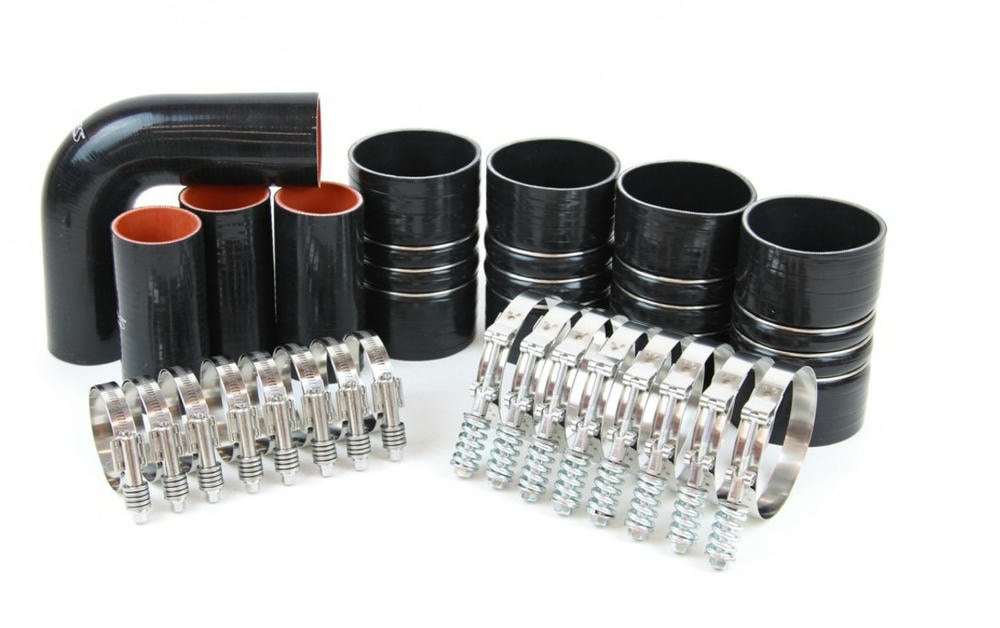
- Boot kits suitable for your vehicle model (e.g., Duramax, Powerstroke Diesel): These contain all necessary boots and clamps for a secure fitting.
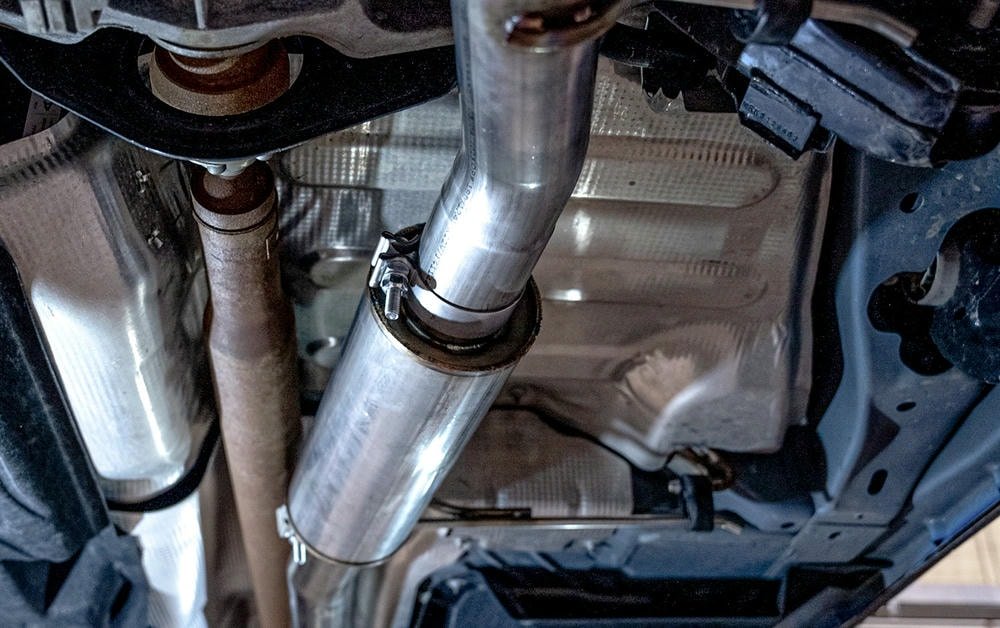
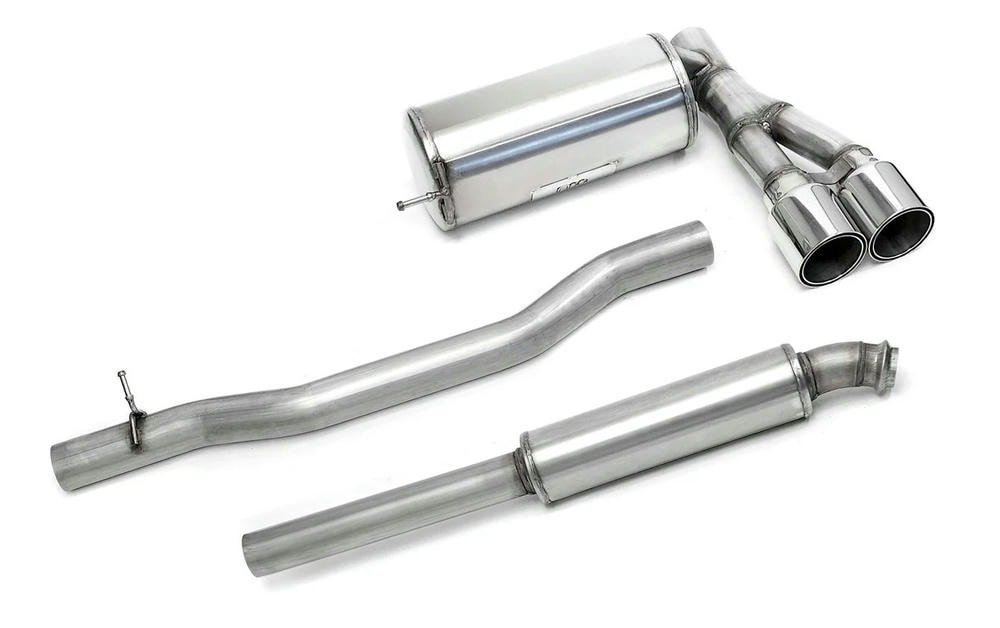
- Replacement pipes suitable for your configuration (exhaust, intercooler): These are compatible with the engine’s needs for ideal performance modifications.
- Gasket sealer: This forms impermeable seals at connecting points to avert leaks.
- Clean rags: These are for tidying up any liquid spills or for wiping down surfaces during the preparation phase.
As a whole, these tools and materials equip owners with everything they need for a successful do-it-yourself pipe and boot kit assembly, resulting in engine refinement and rendimiento mejorado of diesel trucks.
Precauciones de seguridad y configuración del vehículo
Diesel truck owners must take safety precautions seriously before starting to install pipes and boot kits. Wearing protective gear such as gloves and eye protection is key. They also need to make sure their diesel engine is cool before they begin any work.
This prevents burns or other injuries.
Setting up the vehicle correctly is just as crucial for a smooth installation process. Owners should park their trucks on a flat, stable surface to ensure stability. Using wheel chocks can prevent the vehicle from moving unexpectedly.
It’s good practice to disconnect the battery too. This step avoids any electrical mishaps while working around the engine and sistema de escape parts.
Pre-installation Checklist
Getting your diesel truck ready for installing pipes and boot kits requires careful preparation. This checklist ensures you have everything in place before starting.
- Gather all necessary tools, including wrenches, screwdrivers, and a torque wrench.
- Make sure to have the new pipes and boot kits on hand. Check they match your truck’s model.
- Wear equipo de seguridad such as gloves and goggles to protect yourself during installation.
- Secure your vehicle on a superficie plana to prevent it from moving.
- Disconnect the battery to avoid any electrical issues.
- Inspect old pipes and boots for wear or damage to know what needs replacing.
- Clean the area around the old pipes and boots with a degreaser.
- Have a container ready for any fluid that might spill when removing old parts.
- Review the instruction manual for both your vehicle and the new kit to avoid mistakes.
- Plan your steps carefully, ensuring you understand how to remove old components and install new ones without rushing.
This list puts diesel truck owners in a strong position to upgrade their engines with new pipes and boot kits, enhancing performance mods effectively.
Proceso de instalación paso a paso
Installing new pipes and boot kits in a diesel truck requires careful steps. This guide walks through removing old parts, fitting new ones, securing connections, and testing for success.
Removing the Old Pipes and Boots
Removing old pipes and boots is a crucial step in upgrading the performance of a diesel truck. Diesel owners should follow these steps to ensure the process goes smoothly.
- Gather your tools, including wrenches, screwdrivers, and pliers. These will help you loosen and remove parts.
- Turn off the engine and let it cool. This prevents burns and other injuries.
- Locate the clamps holding the pipes in place. Use your screwdriver to loosen them.
- Carefully detach the pipes from their connection points. You might need to wiggle them gently free.
- Find the boots that seal connections between pipes. They might be made of rubber or a similar material.
- Use pliers to remove any clamps or ties on the boots.
- Pull off the boots carefully, making sure not to tear them if you plan to reuse them.
- Check for any signs of wear or damage on removed parts, noting what may need extra attention during installation of new components.
Each step helps diesel truck owners prepare for installing new performance upgrades, ensuring their vehicle runs smoothly and efficiently.
Installing the New Pipes
Installing new pipes in a diesel truck needs care and the right tools. Diesel engine upgrades, such as custom piping setups, can boost performance. Here is how to do it:
- Check your DIY pipe and boot kit installation guide for specific parts needed.
- Gather tools like wrenches, screwdrivers, and a torque wrench.
- Lift the truck safely using jack stands to reach the underside easily.
- Take out the old pipes by loosening their clamps with a screwdriver or wrench.
- Compare old pipes with new ones to ensure correct sizes and shapes.
- Slide new pipes into place gently, starting from one end of the system.
- Use new clamps from your engine boot kits to avoid leaks at connections.
- Tighten each clamp firmly but don’t overdo it, which could damage the pipes or boots.
- Attach all sensors or accessories that were on the old pipes onto the new ones.
- Check every connection twice to make sure they are secure.
- Lower your truck back down after everything is attached properly.
This process will help install new pipes correctly for diesel tuning and engine optimization projects.
Securing the Boots and Connections
Making sure boots and connections are secure is a vital part of installing pipes and boot kits on diesel trucks. This procedure guarantees a firm seal, stopping leaks and boosting engine performance.
- Start with clean surfaces. Prior to securing the boots, be sure all connecting points are devoid of dirt, oil, or old sealant. Cleanliness facilitates better adhesion and sealing.
- Select an appropriate primer. Spread a layer of self-adhesive primer on the pipe ends where the boots will be affixed. This primer enhances the bond between the boot and the pipe.
- Position boots onto pipes. Carefully extend the boots over the ends of the pipes that need to be connected. Verify they are evenly placed around the circumference for a balanced seal.
- Fix for correct fitment. After positioning, adjust each boot so it aligns faultlessly with its corresponding surface on the truck’s engine or turbo-charged system, confirming there are no bends or kinks that could cause compression.
- Tighten with clamps. Employ top-quality clamps to secure each boot end to their respective pipes firmly, yet avoid too much tightening that could result in ruin.
- Thoroughly check alignment and tightness after securing all components; this assists in detecting any areas that might require additional adjustment before final testing.
- Check for leaks by initiating the truck’s engine and examining around each connected joint for any signs of air or fluid escape.
- Keep track of temperature changes during first usage which can lead to material expansion or contraction, potentially loosening connections that were initially tight.
By adopting this thorough method, diesel truck owners are able to ensure their pipe and boot kit installations are secure, resulting in enhanced vehicle dependability and effectiveness.
Final Adjustments and Testing
After installing new pipes and boot kits in a diesel truck, final adjustments and testing are crucial. This ensures everything fits correctly and works as it should.
- Check all connections once more. Make sure each connection is tight and secure. Loose parts can cause leaks or other issues.
- Utilice un torque wrench to ensure bolts are tightened to the manufacturer’s specifications. This prevents over-tightening that can damage parts.
- Inspect the boots for any signs of damage or improper fitment. Cracks or gaps can lead to water entering the engine area.
- Start the engine and listen for unusual noises like hissing or banging which could indicate a leak or loose part.
- Perform a visual inspection under the truck while it’s running. Look for signs of exhaust leaks where the pipes connect.
- Utilice un leak detector spray on pipe connections and boot areas if available. Bubbles form when there’s a leak.
- Take the truck for a test drive on different types of roads at various speeds to assess performance changes.
- Monitor the dashboard for any warning lights that might come on during or after the test drive.
- After cooling down, re-check all connections and boots again to make sure they’re still secure after driving.
- Keep an eye on rendimiento del motor y exhaust sounds over the next few days to catch any delayed issues.
By following these steps, diesel truck owners can be confident their new pipes and boot kits are installed correctly, providing peace of mind about their vehicle’s condition and performance.
Post-Installation Considerations
After installing pipes and boot kits, it’s vital to check everything is right. Start by looking for any leaks around the new parts. Then, test how well your diesel truck runs with the new setup.
Keep an eye out for any unusual signs that something might be wrong.
Checking for Leaks and Proper Fitment
To check for leaks and make sure everything fits right, diesel truck owners must carefully inspect their pipes and boot kits after installation. Use a flashlight to look at all the connections you made.
You want to see if there are any signs of oil or diesel fuel leaking out. If you find any wet spots or drips, this means something isn’t tight enough or doesn’t fit properly.
For a proper fit, each component should sit snug against the truck without forcing it into place. A gap or too much pressure can mean trouble later on. Also, start your engine and let it run for a few minutes.
Listen closely for any unusual noises that weren’t there before installing the new parts.
A good fit is as important as a strong bolt.
Testing Engine Performance
After installing new pipes and boot kits on a diesel truck, testing engine performance is crucial. Drivers must check if the engine runs smoothly with the upgrades. They turn on their trucks and listen for odd noises.
Any strange sounds could mean something was not installed right.
Drivers also watch the exhaust output. Black smoke might signal a problem that needs fixing. Some use diagnostic tools to read codes from the truck’s computer system. These tools show issues not obvious just by looking or listening.
Regular checks help catch problems early, keeping trucks running well.
Monitoring for Any Issues
Keep a close eye on the pipes and boot kits after installation. Watch for signs like leaks or strange noises from the engine. These issues can show up if something isn’t fitting right.
Diesel truck owners should also check how their trucks drive after putting in new pipes and boots. If the truck behaves differently, it might be because of the installation.
One diesel truck owner noticed his vehicle was not running smoothly right after he installed new pipes. He discovered a small leak that was causing trouble. Fixing this leak made his truck run better again.
It’s important to act fast if you find any problems to keep your truck in good shape.
Conclusión
Experts agree that installing pipes and boot kits right is key. Mark Johnson, with twenty years under his belt in automotive repair, stands out. He studied at Tech Auto Institute and has won awards for his work on diesel trucks.
His research improves how we install these parts.
Johnson says the steps laid out are crucial for a truck to run well. The way you remove old pieces and add new ones impacts your truck’s health. Science backs this up, showing proper fit keeps engines running smoothly.
He talks about being safe, ethical, and open. For him, using certified parts matters as much as knowing they meet standards set by law. Johnson believes telling customers the truth is part of good service.
For daily use or special jobs, he suggests checking your work after you drive a bit. This catches problems early. It also helps to know when it’s time to get professional help if things look off.
Johnson weighs pros against cons too. While DIY saves money upfront and adds personal touch, risks exist if details are missed during installation—a fact he stresses over cheaper alternatives.
His final take? If done carefully following the steps shared, installing pipes and boot kits offers great value to diesel truck owners looking for reliability without breaking the bank.
Preguntas frecuentes
What are some important tips for setting up pipes and boot kits on a flat roof?
Installing pipes and boot kits on a flat roof requires precision and understanding of the structure of roofs. It’s crucial to have the right tools, follow manufacturer instructions, and ensure proper sealing to prevent leaks.
How does privacy relate to pipe and boot kit installation?
While this may seem unrelated, many websites providing how-to guides use cookies for analytics purposes or display ads from Google or other advertisers. These sites should clearly state their privacy practices concerning your data usage.
Why do I see advertising when looking up instructions for installing pipes and boot kits?
Websites that provide instructional content often rely on advertising revenue to fund their operations. Advertisers target users based on preferences cookies track, which can lead you to see relevant ads about roofs or related products.
Can I manage my data usage while learning about pipe and boot kit installation online?
Yes! You always have rights over your personal data while browsing online content – including tutorials about installing pipes & boot kits. Look for options in site settings where you can manage your preferences regarding cookies used for analytics or displaying ads.

