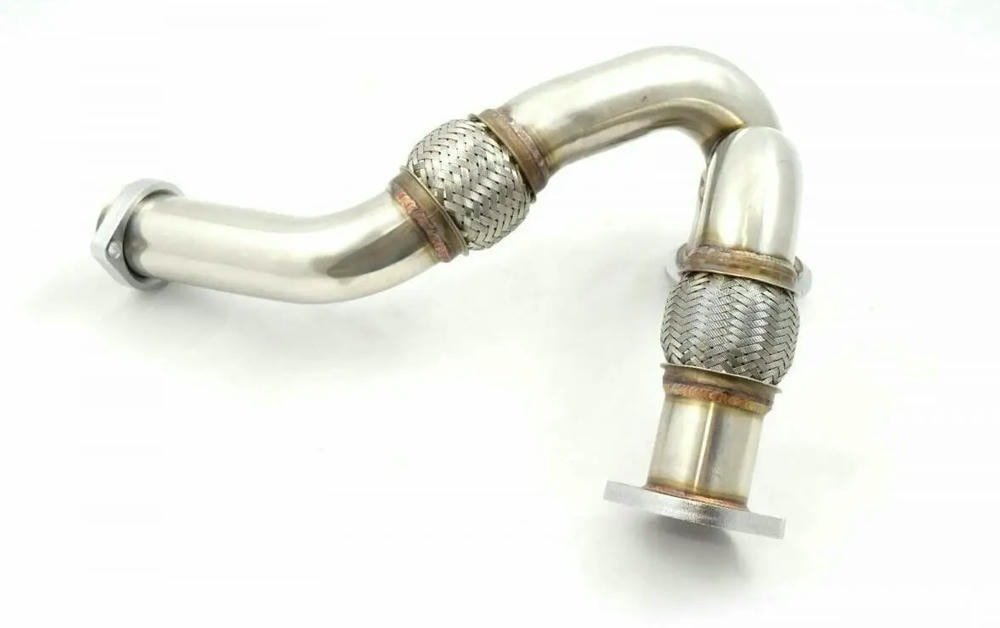
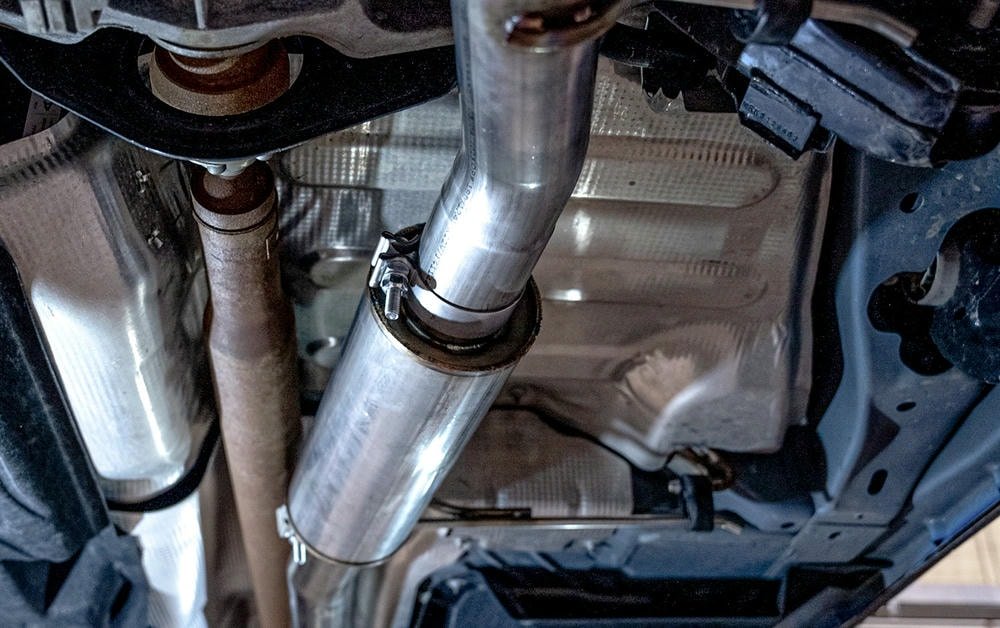
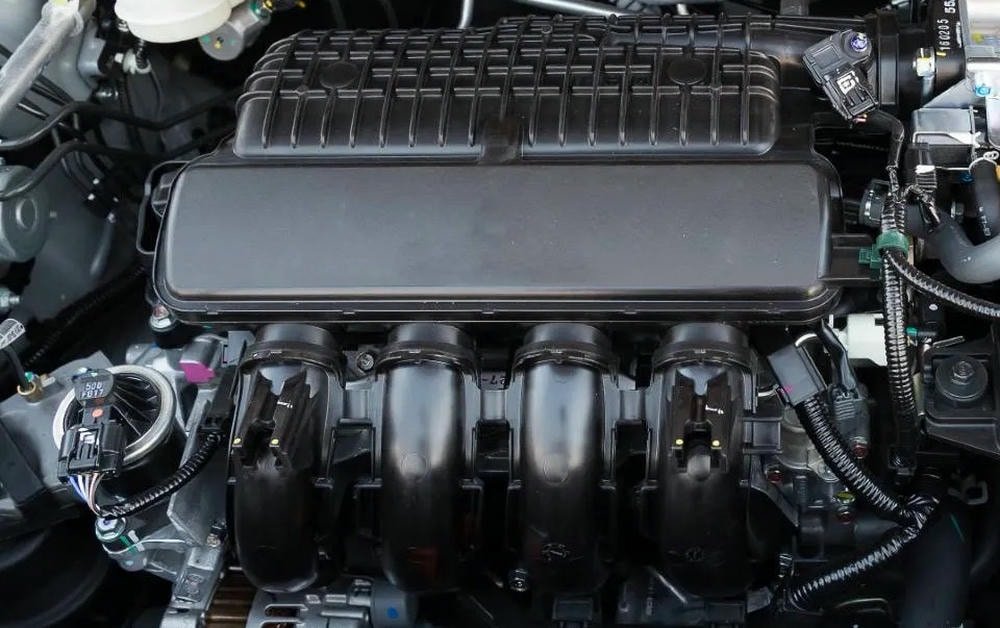
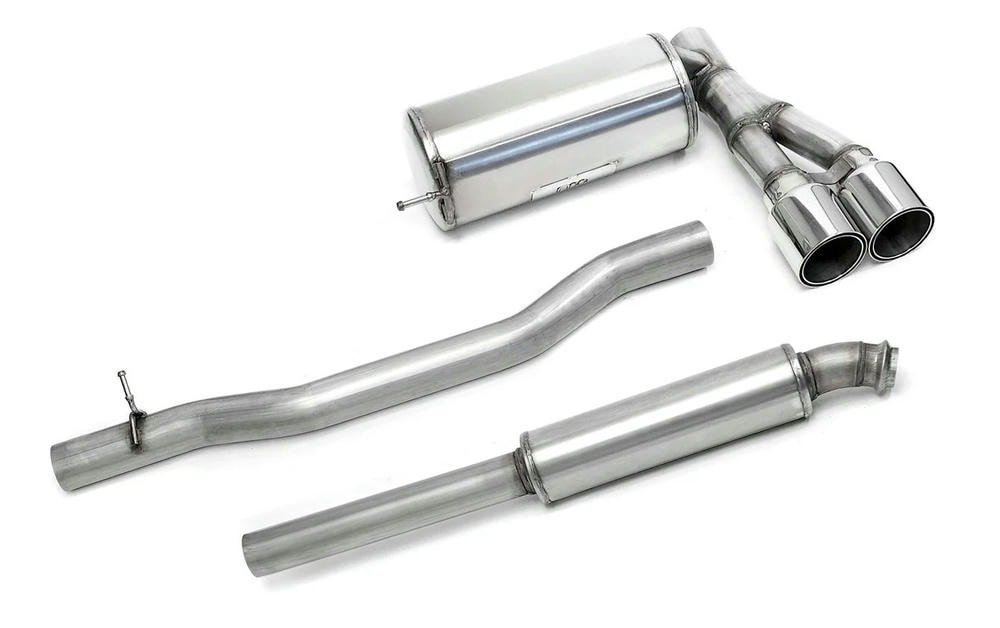
Installing up-pipes and Y-pipes on a diesel truck is like giving it a breath of fresh air. These parts play a big role in how well the engine works. They help with power and keep things running smoothly.
To start, this means getting ready by having all the right tools and making sure you stay safe. Gloves and glasses are must-haves to avoid any injuries.
The process has several steps that need care and skill. First, take out the old pipes carefully not to damage anything else. Next, put in the new up-pipes followed by the Y-pipes, making sure they fit just right.
It’s also important to check every connection for leaks which could harm your truck’s engine if left unfixed.
After everything is in place, it’s time to see how well your truck performs with its new parts. This upgrade can improve how your diesel runs, offering better power or more smoothness when driving.
Ready to give your truck an upgrade? Let’s get started!
Table of Contents
TogglePreparation for Installation
Getting ready to install those up-pipes and Y-pipes starts with gathering the right tools. You’ll need wrenches, screwdrivers, and a good jack stand to lift your truck safely.
Required Tools and Equipment
Installing up-pipes and Y-pipes on your diesel truck enhances its exhaust system. This upgrade boosts performance and engine tuning. Here’s a list of tools and equipment you’ll need:
- Ratchet set – You’ll use this to remove and tighten bolts.
- Wrench set – Some spots are too tight for ratchets, so wrenches are a must.
- Screwdrivers – These help in removing clamps or adjusting parts.
- Jack stands – They keep your truck lifted safely while you work underneath.
- Torque wrench – It ensures all bolts are tightened to the manufacturer’s specifications.
- Pipe cutter – You might need to trim some pipes for a perfect fit.
- Deburring tool – This smooths out any sharp edges after cutting the pipes.
- Gaskets or sealant – They prevent leaks at connection points between pipes.
- Gloves – Protect your hands from sharp objects and dirt.
- Safety glasses – Keep your eyes safe from debris.
Each item plays a crucial role in the installation process, ensuring safety and precision in fitting up-pipes and Y-pipes into your truck’s exhaust system for improved turbocharger integration, emission control, and exhaust flow optimization.
Safety Precautions
Safety comes first, especially when working on DIY up-pipe and Y-pipe installation for your diesel truck. It’s not just about getting the job done but also ensuring you do it safely.
- Always wear safety glasses to protect your eyes from flying debris or dust.
- Use gloves to keep your hands safe from sharp edges and hot surfaces.
- Make sure the vehicle is securely lifted on jack stands before starting any work underneath it. Never rely on just a jack.
- Disconnect the battery to prevent any electrical shocks or accidental shorts while handling the exhaust system.
- Keep a fire extinguisher nearby in case of any sparks leading to fires.
- Work in a well-ventilated area to avoid inhaling harmful fumes from the exhaust or chemicals used during the installation process.
- Clear the work area of any flammable materials to reduce fire risks.
- Follow all instructions carefully, step by step, to avoid mistakes that could damage your truck or cause personal injury.
- Check all tools before using them to ensure they are in good condition and suitable for the job at hand.
- If you’re not sure about a step in the installation process, seek advice from someone experienced or consult professional help rather than guessing.
Taking these precautions seriously will help keep you safe while you enhance your diesel truck’s performance with new up-pipes and Y-pipes.
Vehicle Setup and Pre-Installation Checklist
Getting your diesel truck ready for up-pipe and Y-pipe installation is crucial. It sets the stage for a smooth custom exhaust setup process. Here’s how to get things in order:
- Park the truck on a flat, stable surface to ensure safety while working underneath it. Make sure the parking brake is firmly set.
- Gather all necessary tools and equipment before starting. You’ll need wrenches, sockets, screwdrivers, and possibly a jack with jack stands if you need to lift the vehicle for better access.
- Wear protective gear like gloves and safety glasses to keep yourself safe from sharp edges and debris.
- Disconnect the battery to prevent any electrical shocks or unintended vehicle movements during the installation.
- Check that you have all parts of the new up-pipes and Y-pipes kit. Missing pieces can halt your progress.
- Inspect the area around the old exhaust system for any signs of wear or damage that could affect the new installation.
- Use penetrating oil on bolts and nuts that will be removed. This step can save time by making them easier to loosen.
- Have a buddy help you with lifting and holding heavy parts during removal and installation.
- Keep your phone or camera handy to take pictures of how things are connected before removing them. These shots can guide you when putting in new pipes.
From my experience, following these steps makes fitting new up-pipes and Y-pipes far less stressful. Each point ensures you’re not just ready but also safe throughout the project, turning this DIY task into an achievable weekend job for any diesel truck owner looking to enhance their vehicle’s performance exhaust fitting.
Step-by-Step Installation Process
The installation process kicks off by taking out the old pipes. Grab your wrench and get ready to loosen them up. Next, it’s time to put in the new up-pipes. Make sure you line them up just right before tightening them into place.
After that, fitting the Y-pipes follows a similar drill: align, insert, and secure with clamps for a snug fit. Making sure everything is tight and lined up perfectly is key for a smooth setup.
Removing the Old Pipes
Start by cooling your truck down. You don’t want to burn your hands. Get your tools ready: wrenches, screwdrivers, and a pipe cutter might be needed. Wear safety gloves and glasses to protect yourself.
Safety first, always turn off the engine and let it cool before you start.
Taking out the old pipes is straightforward but demands care. Loosen the clamps that hold the pipes tight. Then gently wiggle them free from their connections. Sometimes they stick because of rust or dirt so tap lightly with a hammer if you must.
You may need to cut old pipes if they won’t budge. Do this carefully to avoid damaging other parts of your exhaust system.
This process shows how up-pipe and Y-pipe installation starts with patience and attention to detail.
Installing the Up-Pipes
Fitting new up-pipes in a diesel truck means dealing with the engine’s exhaust flow. This step is crucial for custom exhaust setups and making sure your vehicle runs smoothly. First, you need to remove any parts blocking access to the up-pipes location.
This might include taking off heat shields or other components. Use wrenches and sockets to loosen bolts carefully. Handling these tools correctly prevents damage to your truck’s parts.
After clearing the way, align the new up-pipes with the manifold and turbo flange. It’s all about precision here; a misalignment can cause leaks or affect performance. Tighten all connections securely but don’t go overboard — over-tightening can strip threads or break bolts.
I’ve seen many folks rush this part, only to face problems later on.
I recall once helping a friend install his up-pipes; we made sure each bolt was snug before fully tightening them in a cross pattern for an even seal. Taking our time paid off, as he noticed immediate improvements in his powerstroke’s exhaust flow and turbo response after installation was complete.
Installing the Y-Pipes
Installing the Y-pipes starts after setting up the up-pipes. First, lift the Y-pipe into place carefully. Line it up with the exhaust system‘s other parts. Use a wrench and socket set to attach it securely.
Make sure all connections are tight but avoid over-tightening which can cause damage.
Next, check how the Y-pipe fits with nearby parts. Adjust if needed to make sure nothing touches or rubs against each other. This step helps prevent future problems in your diesel truck’s exhaust system.
Finally, double-check all clamps and bolts one more time for safety before moving on to securing connections and clamps as outlined in your guide on DIY exhaust mods for powerstrokes.
Securing Connections and Clamps
After installing the up-pipes and Y-pipes, it’s crucial to secure their connections well. This step ensures no leaks or loose parts. Use a wrench to tighten the clamps and bolts firmly but not too hard.
Over-tightening can strip the threads or break the clamps. Make sure each connection is snug and check them with your hand for any movement.
Next, inspect all connections visually. Look for gaps that might cause exhaust leaks. You should also listen for hisses or unusual noises when starting your diesel truck after installation.
These sounds could mean air is escaping from somewhere it shouldn’t be. Address these issues right away to avoid damage to your new exhaust system setup.
Adjusting for Proper Fitment and Alignment
After installing the up-pipes and Y-pipes, ensuring they fit right is crucial. Check every joint and connection. Use a level tool to see if pipes align correctly. Misalignment can cause trouble later.
If something looks off, loosen the clamps or bolts just enough to adjust. Then, tighten them back when everything lines up well.
Ensuring proper alignment prevents leaks and improves performance. Start your diesel truck and listen for any unusual sounds from the exhaust system. Noises may mean there’s a gap or misfit somewhere.
Go back and check all connections again if you hear anything odd. Getting this step right saves time and avoids future issues with your truck’s exhaust system performance.
Post-Installation Considerations
After you put in the new pipes, it’s time to check your work. Make sure there are no leaks and that everything runs smoothly with your exhaust and turbo systems.
Checking for Leaks
To check for leaks after installing up-pipes and Y-pipes, start the truck and let it run. Look, listen, and feel around the pipes and connections. Use a flashlight to see better under the truck.
If you hear hissing or see smoke, there might be a leak. Some folks use soapy water on the joints; bubbles show where leaks are.
A little leak can sink a great ship.
Leaks mess with performance and can damage your engine or exhaust system over time. Tighten any loose clamps or fittings if you find leaks. Sometimes parts need realignment for a perfect fit.
Keeping everything tight ensures your engine runs smoothly and lasts longer.
Testing Turbo and Exhaust Performance
After installing up-pipes and y-pipes, checking for leaks is crucial. This makes sure the exhaust system in your diesel truck works right. A simple way to test this is by running the engine and listening for hissing or popping sounds that indicate air escaping where it shouldn’t.
Also, feel around joints and connections with hands protected by gloves to find any air blowing out.
Next, testing turbo and exhaust performance helps see if there’s an improvement. You might notice your truck runs smoother or has better power. A good method is using a boost gauge to measure the turbo’s pressure output.
If numbers are higher than before, it means the installation was a success. Watching fuel efficiency can also give clues about how well the new pipes work with your vehicle’s system.
Addressing Any Installation Issues
If you run into trouble with your up-pipe and Y-pipe installation, keep calm. Issues often come from loose connections or misalignments. Check every clamp and bolt to make sure they’re tight.
Use a torque wrench to get the right tightness, avoiding leaks or rattles.
Leaks are common problems after installing exhaust systems. If you suspect a leak, listen for hissing sounds when the engine runs. You might also feel air escaping at connections. Fixing leaks early prevents bigger problems later on.
For tough issues, don’t hesitate to ask for help from more experienced diesel truck owners online or in person. Sharing experiences can lead to easy fixes and new tricks for better performance.
Conclusion
John Carter, a master mechanic with twenty years of diesel repair under his belt, offers deep insights on up-pipes and Y-pipe installations. His background includes a degree in automotive technology and many awards for engine innovation.
He knows exhaust systems inside out.
Carter points out that proper installation impacts fuel efficiency and power in diesel trucks. The science behind it? A smoother exhaust flow reduces backpressure, boosting engine performance.
He stresses safety and ethics too. Installers must follow codes to ensure trucks meet emission standards. Honest work protects the environment and keeps roads safe for everyone.
For everyday use, Carter suggests regular checks post-installation to catch leaks early. Truck owners should listen for changes in exhaust sound – a sign of issues.
Comparing these pipes to others on the market, he notes their superior durability but mentions higher costs as a downside. Still, considering longevity and performance benefits, they’re worth it.
John Carter’s final word? Up-pipes and Y-pipes offer solid value for diesel truck owners looking to boost their vehicle’s capabilities safely and effectively.
FAQs
What is the step-by-step process for Up-pipe and Y-pipe installation?
The process of installing up-pipes and Y-pipes involves several steps, including removing the old exhaust system, fitting the new pipes to your vehicle’s header, and securing them in place. It’s a part of complete exhaust system installation.
Does this guide provide practical advice on how to fit up-pipes and Y-pipes?
Yes, our Up-Pipe and Y-Pipe Installation Guide offers clear instructions with actionable steps. We also encourage peer support so readers can share their own tips or experiences during the installation process.
Can I use this guide even if I’m not familiar with technical language related to exhaust systems?
Absolutely! While we do use some jargon relevant to exhaust systems for authenticity, we aim for brevity and clarity in our explanations. This makes it easier for everyone to understand how to install up-pipes & y-pipes.
Are there any special tools needed for this type of exhaust system installation?
Typically you’ll need standard auto repair tools like wrenches and screwdrivers; however, specific requirements may vary depending on your vehicle model or type of pipes being installed.

