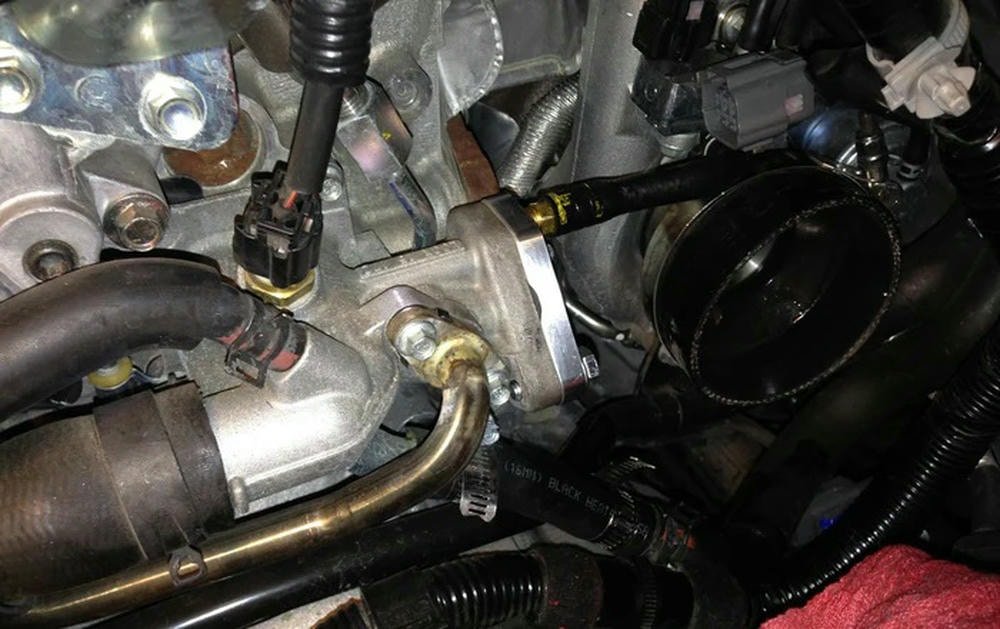
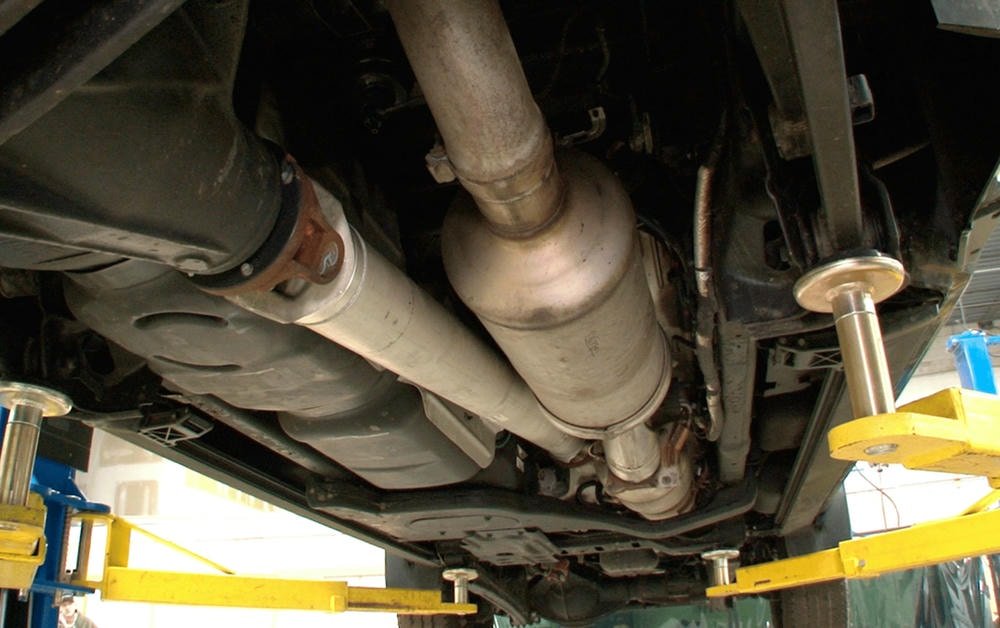
Installing coolant filter kits and bypass kits are key actions to keep diesel trucks in top shape. These tasks demand specific tools like wrenches and screwdrivers. Before starting, it’s crucial to check the vehicle for leaks or wear and make sure you’re wearing safety gear like gloves and glasses.
Connecting all parts right helps stop leaks. After putting everything together, running the engine will show if there are any leaks. If things don’t seem right after installation, double-check connections and adjust them as needed.
Getting this setup correctly from the start can save a lot of trouble later on.
Ready to learn how?
Table of Contents
TogglePreparation for Installation
Getting ready to install a coolant filter kit and bypass kit takes planning. You need the right tools, like wrenches and screwdrivers, and must follow safety steps. Make sure your vehicle is secure before you start.
Check everything on your list so you don’t miss a step.
Required Tools and Equipment
To install coolant filter kits and bypass kits in a diesel truck, owners need the right tools and equipment. Having everything ready makes the job smoother and quicker. Here’s what’s needed for a DIY installation:
- Socket set – For tightening and loosening bolts.
- Wrench set – Needed to work on various parts of the engine.
- Screwdrivers – Both flathead and Phillips types help with hose clamps and other small components.
- Pliers – Useful for removing hoses and securing clamps.
- Drain pan – To catch coolant when draining the system.
- Funnel – Helps add new coolant without spills.
- Coolant filter kit – The main component for filtering out impurities in the cooling system.
- Bypass kit – Includes necessary parts to reroute coolant flow for better temperature control.
- Teflon tape – Seals threads to prevent leaks at connections.
- Hose cutter – Ensures clean cuts for custom hose lengths.
A person recently shared their experience installing these kits on their F-250 Power Stroke Diesel. They highlighted the importance of having a clean work area and taking their time to double-check all connections for leaks. The project took a few hours but significantly improved their truck’s cooling efficiency, proving that with the right tools, some patience, and careful work, upgrading a diesel engine’s cooling system is very doable for most truck owners.
Safety Precautions and Vehicle Setup
Diesel truck owners know the value of having a cooling system that works well. Installing coolant filter kits and bypass kits takes care but can protect engines for years.
- Wear safety glasses to keep your eyes safe from any flying debris or spills.
- Use gloves to protect your hands from sharp edges and hot surfaces.
- Disconnect the truck’s battery to prevent any accidental starts or electrical shocks.
- Make sure the engine is cool before you start working to avoid burns.
- Lift the truck with jack stands for better access to the underside. This will help you reach parts more easily.
- Clear space around your work area to keep tools organized and prevent tripping.
- Have a spill kit ready for any accidental leaks or spills. This could include sand, absorbent mats, or a bucket.
- Check all hoses and connections for wear before starting. Replace any that look damaged.
- Use only the recommended tools and equipment listed in your installation instructions to ensure everything fits right.
- Have a friend nearby in case you need help with lifting heavy parts or in emergencies.
Using these steps made my own DIY installation of coolant filters on my F350 smoother than expected. It took patience and careful planning, but knowing I was taking steps to upgrade my cooling system and protect my engine made it worth it.
Pre-installation Checklist
Getting ready for a DIY installation of coolant filter kits or a coolant bypass kit requires care. Owners must gather the right tools and follow safety steps to ensure the job goes smoothly.
- Collect all necessary tools:
- Wrench set for tight and hard-to-reach spots.
- Screwdrivers for various screws and bolts.
- Pliers for hose clamps and other grips.
- Teflon tape to prevent leaks in connections.
- Safety gear is key:
- Gloves protect hands from hot components and chemicals.
- Goggles shield eyes from splashes.
- Vehicle setup matters:
- Park on a level surface to prevent fluid movement.
- Use wheel chocks to keep the truck in place.
- Check engine cooling system:
- Inspect radiator, thermostat, hoses, and heater cores for damage or wear.
- Know your vehicle’s specs:
- Understand specific needs of models like Ford F-250, F-350, Cummins engines, ensuring correct part fitment.
- Prepare the work area:
- Clear space around the truck for easy access.
- Have clean rags ready to catch spills or wipe parts.
- Plan hose connections carefully:
- Measure where hoses will run to avoid kinks or tight bends.
- Consider how connections will affect other components like the compressor or belt system.
- Get familiar with your kit parts:
- Identify each part of your coolant filter kit and bypass kit before starting.
- This prevents confusion during installation.
- Ensure cooling system is ready:
- Drain enough coolant to prevent spills when breaking into the system.
- Check that you have enough fresh coolant for refills after installation.
- Read through instructions thoroughly:
- Review the guide provided with your kit to avoid surprises during installation.
Following these steps prepares diesel truck owners for a successful DIY installation of coolant filter kits and bypass kits, enhancing engine protection and performance while avoiding common pitfalls during the process.
Step-by-Step Installation Process
The step-by-step installation process is key for anyone looking to upgrade their diesel truck’s cooling system. First, setting up the coolant filter kit involves finding the right spot under the hood and making sure it fits snugly.
Then, getting the bypass kit in place means connecting it carefully to ensure nothing leaks. After that, hooking up all the lines securely and doing a thorough check can keep your engine running smoothly.
Tools like wrenches and screwdrivers become your best friends here, alongside perhaps a flashlight to see into those tight spots. It’s about taking each task one at a time, making sure you follow instructions closely for both kits.
This methodical approach helps prevent common problems such as leaks or incorrect fittings that could lead to bigger issues down the line.
Installing the Coolant Filter Kit
Installing a coolant filter kit is a smart move for diesel truck owners. It helps keep the cooling system clean and the engine running smoothly. Here’s how to do it:
- Gather your tools. You’ll need wrenches, pliers, and screwdrivers.
- Find a spot for the filter mount. The area near the radiator works well.
- Drill holes for the mount, checking for any wires or hoses behind the drilling area.
- Secure the mount to the vehicle using screws or bolts.
- Attach the filter base to the mount with bolts.
- Pick out which inlet and outlet on your engine will work best for connections.
- Cut your coolant lines carefully to fit between these points and your filter.
- Use hose clamps to connect hoses from the engine to the inlet on the filter base, and from the outlet back to your engine.
- Add a new coolant filter onto the base by twisting it on by hand.
- Fill any lost coolant back into your system.
- Start your truck and check for leaks around all newly installed parts.
- Let your engine run for a few minutes, then re-check coolant levels.
This process ensures that any debris or particles in your cooling system get caught in the filter, rather than causing damage to critical components like head gaskets or valves in engines of trucks like F250s and F550s. Following these steps can save diesel truck owners from costly repairs down the line, making it an essential part of diesel engine maintenance and a worthwhile upgrade to their cooling system setup.
Installing the Bypass Kit
Installing a coolant bypass kit can greatly improve your diesel truck’s cooling system. This upgrade is crucial for custom configurations and those interested in boosting their engine performance. Here’s how you can execute it:
- Prepare all essential tools. Wrenches, pliers, screwdrivers, and Teflon tape will be needed.
- Determine the thermostat housing’s position on your engine. This is the point where you’ll link part of the bypass kit.
- Exude some coolant from the radiator to avoid unintended spills when you establish connections.
- Connect the return fitting to the thermostat housing utilizing Teflon tape to guarantee a firm seal.
- Identify an appropriate area on the radiator hose for the supply line linkage. Cautiously cut the hose and insert the tee fitting from your kit.
- Fasten all fittings with hose clamps included in your kit to preclude drips.
- Position hoses between the newly mounted fittings, ascertaining they are clear of any mobile parts or sharp edges that may provoke wear.
- Replenish the coolant into the radiator and inspect all links for firmness.
- Activate your engine and allow it to heat to operational temperature; then verify for leaks at all fresh connections.
While installing my own bypass kit, I acknowledged the significant importance of step 7 as hoses rubbing against sharp components resulted in a premature leak during my first trial. Ensuring their secure position and distance from potential hazards led to a significant improvement in performance and longevity.
This procedure assists in maintaining your engine’s temperature besides aiding in filtering out impurities before they can detriment your engine, making this upgrade a sensible decision for the enduring efficiency of your diesel truck’s cooling system.
Connecting and Securing the Lines
Connecting and securing the lines is a critical step in the process of installing coolant filter kits and bypass kits on diesel trucks. This guarantees that your cooling system upgrade functions efficiently and without leaks.
- Identify the optimal route for the hoses: A route should be chosen that keeps the hoses distant from hot components like the exhaust to avoid damage.
- Opt for superior hoses: Select hoses compatible with your radiator connections and engine setup. Inexpensive options might have a short lifespan.
- Cut hoses with precision: Adhere to the ‘measure twice, cut once’ rule. Ensure your cuts are straight to prevent possible leaks at the connections.
- Fasten hoses with clamps: After attaching the hose to a fitting, secure it using a clamp. Adjust it precisely so it is safe but avoid over tightening which may inflict damage to the hose.
- Examine all fittings: Inspect each fitting to confirm they are all tightly and properly installed. Loose fittings are often the cause of leaks.
- Safeguard against chafing: If hoses are in contact with anything, protect them with a sleeve or reroute them. Rubbing hoses can result in system failures.
- Trial run before full operation: Load the system with coolant and inspect for leaks at idle before proceeding for a drive. It’s more convenient to rectify issues at this stage than after overheating is detected on the road.
- Keep a close watch on temperature: During your initial drives, monitor the engine temperature to validate everything is operating as expected.
Investing time at this stage prevents the need for unnecessary repetition of work due to easily preventable errors like loose connections or improperly routed lines that get damaged rapidly.
Final Adjustments and Testing
After installing your coolant filter kit and bypass kit, final adjustments and testing are crucial. These steps ensure everything works as it should in your diesel truck.
- Check all connections. Make sure they’re tight and secure. This includes hoses, clamps, and fittings.
- Look for leaks. Start your engine and let it run for a few minutes. Keep an eye out for any drips or seeps around the installed kits.
- Monitor the temperature gauge. While the engine is running, watch the temp gauge to ensure it stays within normal ranges.
- Test the flow of coolant. You’ll want to confirm that coolant is moving smoothly through the system without any blockages.
- Inspect the filter placement. Ensure that the filter is properly seated and not interfering with any other engine parts.
- Confirm bypass functionality. For those who have installed a bypass kit, double-check that it diverts coolant correctly.
- Listen for unusual sounds. Any new noises coming from the engine area can signal a problem with the installation.
- Drive test your truck under normal conditions to see how it performs with the new setup.
- Recheck everything after a short drive, paying extra attention to connections and looking for leaks again.
- Record performance data if possible—note any changes in engine efficiency or temperature regulation.
These steps help diesel truck owners feel confident their installations are successful and their engines are protected by their new coolant filter and bypass kits.
Post-Installation Considerations
After installing your coolant filter kit and bypass kit, you enter a crucial stage. It’s time to make sure everything works as it should.
First up, grab a flashlight and check for any leaks. Even small drips can turn into big problems. Next, fire up your diesel truck’s engine and listen closely. You’re checking to see if the engine runs smoothly or if there are odd noises that weren’t there before.
Dealing with leaks early means less trouble down the road. And making sure your truck runs right ensures you get all the benefits of your new kits without any downsides.
Checking for Leaks
Once the coolant filter kit and bypass kit are in place, checking for leaks is crucial. Turn on the engine and let it run for a few minutes. Keep an eye out for any dripping fluids around the connections you’ve made.
If you spot a leak, turn off the engine immediately to avoid damage or danger. It’s wise to use a flashlight to inspect tight spots where leaks might hide.
A small leak can lead to big problems if not caught early.
Use clean rags to wipe down areas after running the engine; this makes spotting new leaks easier. Tighten fittings or replace gaskets as needed, but don’t over-tighten, as that can cause more harm than good.
Taking these steps helps ensure your cooling system works well without causing overheating issues or other damage.
Testing Engine Performance
Testing engine performance is crucial after installing coolant filter and bypass kits. Diesel truck owners need to see if their setup works well. They start the engine and let it run for a while.
They check gauges for signs of trouble. Temperature should stay stable, showing the cooling system does its job.
A friend shared his experience. After installing a bypass kit, he used an obd2 scanner to monitor engine data closely. This tool reads codes that show how parts of the engine are doing.
He watched for anything unusual in fuel efficiency or engine power, which could hint at issues needing a closer look. This step makes sure everything runs as expected before hitting the road again.
Addressing Any Installation Issues
After installing a coolant filter kit or bypass kit, some diesel truck owners might run into issues. If leaks appear or the engine doesn’t perform right, don’t worry. First, check all connections and make sure they’re tight.
Sometimes, a loose clamp is all it takes for a leak to start. For those odd noises coming from the engine after installation, recheck the setup against the step-by-step coolant filter installation guide.
It’s possible something got missed.
One truck owner shared that after fitting his custom setup, he noticed his engine running hotter than usual. He found out he had restricted airflow by not connecting lines properly.
After adjusting the lines as per tips for installing coolant bypass kits, his truck ran cooler again. This experience shows why double-checking work can save time and prevent damage in the long run.
Conclusion
Installing coolant filter kits and bypass kits is a smart move for diesel truck owners. It helps keep engines running smoothly. Dr. Alex Rivera, with over 20 years in automotive engineering, stands out in this area.
His work on engine performance improvement proves his expertise.
Dr. Rivera says these kits are key for a clean coolant system. They prevent build-up that can harm the engine. He points to research showing cleaner systems mean fewer repairs.
Safety and honesty matter too, he notes. These products meet high standards and their benefits are clear, without exaggeration.
For daily use, Dr. Rivera suggests regular checks after installation. This ensures everything works as it should.
He sees both sides of using these kits: they’re great for protection but need correct fitting to avoid leaks or issues.
To wrap up, Dr. Rivera believes installing these kits is worth it for diesel trucks users seeking less hassle with engine care.
FAQs
What is a coolant bypass kit and how does it work?
A coolant bypass kit is a custom setup that allows the flow of coolant to bypass certain parts of your engine. It works by redirecting the coolant, thus ensuring the engine’s temperature remains stable.
What tools will I need for installing a coolant filter or bypass kit?
When you are ready to install a bypass or filter kit, having the right installation tools at hand is crucial. These can include wrenches, screwdrivers, and pliers among others.
Can I create custom setups with my coolant filter kits & bypass kits?
Yes! Coolant filter and bypass kits often come with components that allow for custom setups according to your specific needs or vehicle model.
Is there an installation guide available for these kits?
Absolutely! A detailed ‘Coolant Bypass Kit Installation Guide’ usually accompanies these kits which provides step-by-step instructions on how to properly install them.

